If you have elementary school-aged kids, you are inundated with paper each week. The first few years of school are filled with adorable pieces of artwork and precious stories. I loved stories like “What I Will Do When I’m 100” or “How to Cook Thanksgiving Dinner.” In preparation for the school year that is coming up right around the corner…it’s after July 4th after all…let’s make a plan to deal with all the paper that is headed your way. I know you don’t want your kitchen (and every other room) to be piled with paper from September to June. Let’s figure out how to organize your kids’ artwork and papers in a way you can maintain.
You can set up a school binder to organize important school papers. Things like field trip forms, letters from teachers, or policy information. But today, we’re going to talk about how to organize kids’ artwork and paper projects. I have a three-step process for handling my kids’ school memorabilia and paperwork. Since I love alliteration, I’m calling it Sort, Store, Show.
(Disclosure: As an Amazon Associate I earn from qualifying purchases. This means that if you click a link and make a purchase, I may receive a small commission at no additional cost to you. I only recommend products I use and love or would love to use! For full disclosure details, click here.)

Step 1: Sort
You need to be a bit brutal at this stage. Most homework assignments should be tossed as soon as they come in the door. That doesn’t seem as difficult when they bring home math worksheets or spelling tests. But when we get the cutesy little drawings and art projects that they do for every occasion, it becomes harder to determine what to toss and what to keep. Several years ago, before everyone had heard of Marie Kondo, my mother-in-law was clearing her clutter. She gave me some memorabilia from my husband’s elementary school stage that she didn’t want to keep. After looking at it all, there were only a couple of things that we kept. That experience opened my eyes to how little my kids are going to care about all this stuff when they are older.
Organize papers with a long-range perspective
So when you look at each adorable drawing your child brings home, you need to ask yourself…if I had made this when I was a kid, would I care about it now? Would my mom? Would it have any contextual meaning? If your child was asked to write and draw about her favorite summer memory and she drew a picture of your family at the beach, with a description of why it was the best weekend ever, that might be a keeper. If it’s a drawing of Abraham Lincoln that she made for President’s Day, you probably won’t care about it five years from now.
Designated holding place
I keep a clear storage bin on a shelf near my desk. It’s about 10 inches by 13 inches, so it will hold everything up through a construction paper sized project. When the girls bring papers home from school, if I am not immediately going to display it or throw it away, I toss it in the bin. This automatically limits what can be kept because if the bin fills up, I have to make decisions about what to keep, and what to do with it. Usually, I will go through the bin once a month and each time, toss a few more things. I find that having the perspective of a month’s worth of papers helps me see which items are more meaningful or important to me than others.
After we’ve created a system for sorting, hopefully you’ve made a dent in the amount of papers that you retain. Now you need a storage plan to organize the kids’ papers you want to keep.
Step 2: Store
You will likely need multiple storage solutions to keep all your kids’ artwork and schoolwork organized.
Art Portfolios
I purchased these art portfolios several years ago for my daughters; they have been perfect to organize oversized paper projects. The portfolio has sections to separate papers by year, and it’s large enough to hold almost anything they bring home. They’re not expensive, but if you want to DIY it, you could use a couple pieces of posterboard taped together with colorful duct tape to make a giant envelope. Your kids can decorate and personalize the outside.
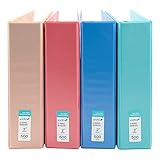
Binders
I also keep a 3-ring binder for each child. Any set of dividers will make separation by school year easy. Here I keep stories they wrote, especially ones that have to do with family. Teacher notes with meaningful comments get put in here, and sometimes I take a picture of a project and keep the picture in the binder rather than keep the project. Sheet protectors work well to slip in class pictures or anything else you’d rather not punch holes in. Binders make it so simple to organize a variety of kids’ papers. Plus, they can hold a lot if you use a big binder!
School Memory Books
The final piece in my storage plan is School Memory books. Below are examples of some that I use. I have a slightly different book for each child, but they each have a place to record some memories of the school year, put a school picture, and a pocket to hold whatever small ephemera you want to keep.

I keep the art portfolios, the binders and the School Memories books on a bookshelf in our craft room. These are purposely accessible to the kids. They like to look through and reminisce sometimes, and enjoy updating their memory books themselves.
My storage plan:
- Art portfolios for oversize papers
- 3-ring binders with dividers to separate the years and some sheet protectors for pictures or other items that I don’t want to punch holes in
- School Memories Books for them to record their activities, friends, favorite things, etc.
Purposely LIMIT SPACE to organize papers
One way to keep the paper clutter under control is to strategically limit your storage space. You can do this with a cork board, a storage box, or a binder. The point is that you are only permitted to keep what will fit in that space. Once it is full, you have to start making choices about what is most meaningful to you. (As your kids get older, you can transfer this responsibility to them. They bring home fewer papers as they enter the tween years, and allowing them to be (mostly) in charge of deciding what is important to keep is excellent training for dealing with paper clutter. Think of it as teaching a valuable life skill.
The final step I take in dealing with my kids’ school memorabilia is choosing some to display.
Useful Storage Solutions for Kids’ Papers


Step 3: Show
At times, I think my three girls must spend fully half their waking hours doing art projects. Maybe it’s just my kids, but in their minds, every single picture is worth showing off. So to display some of their work, I created a gallery wall in our stairwell.
GALLERY WALL
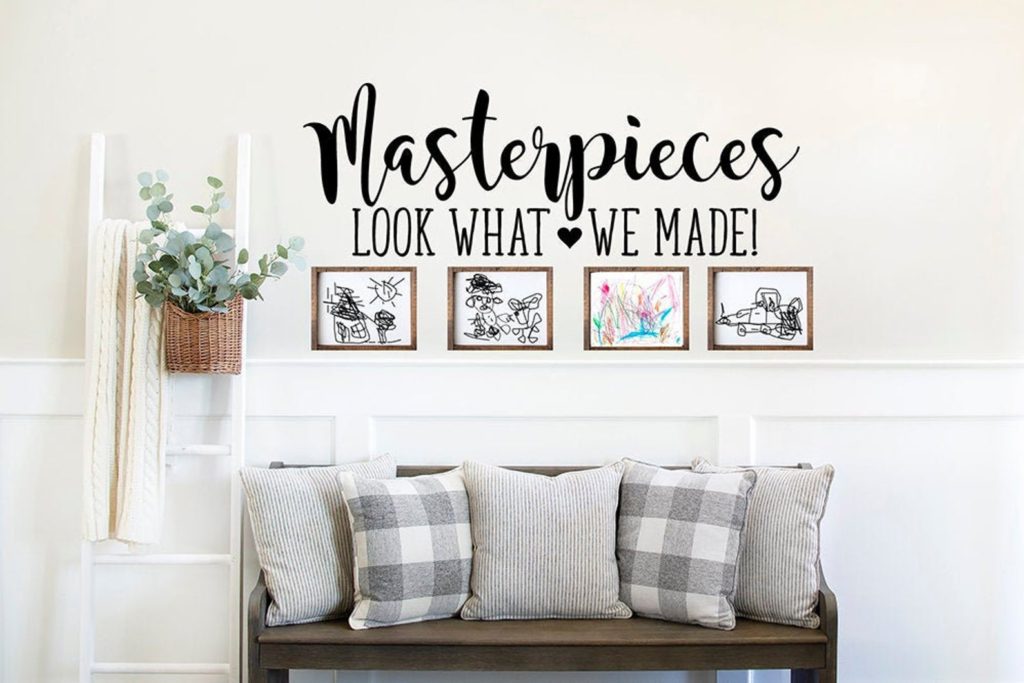
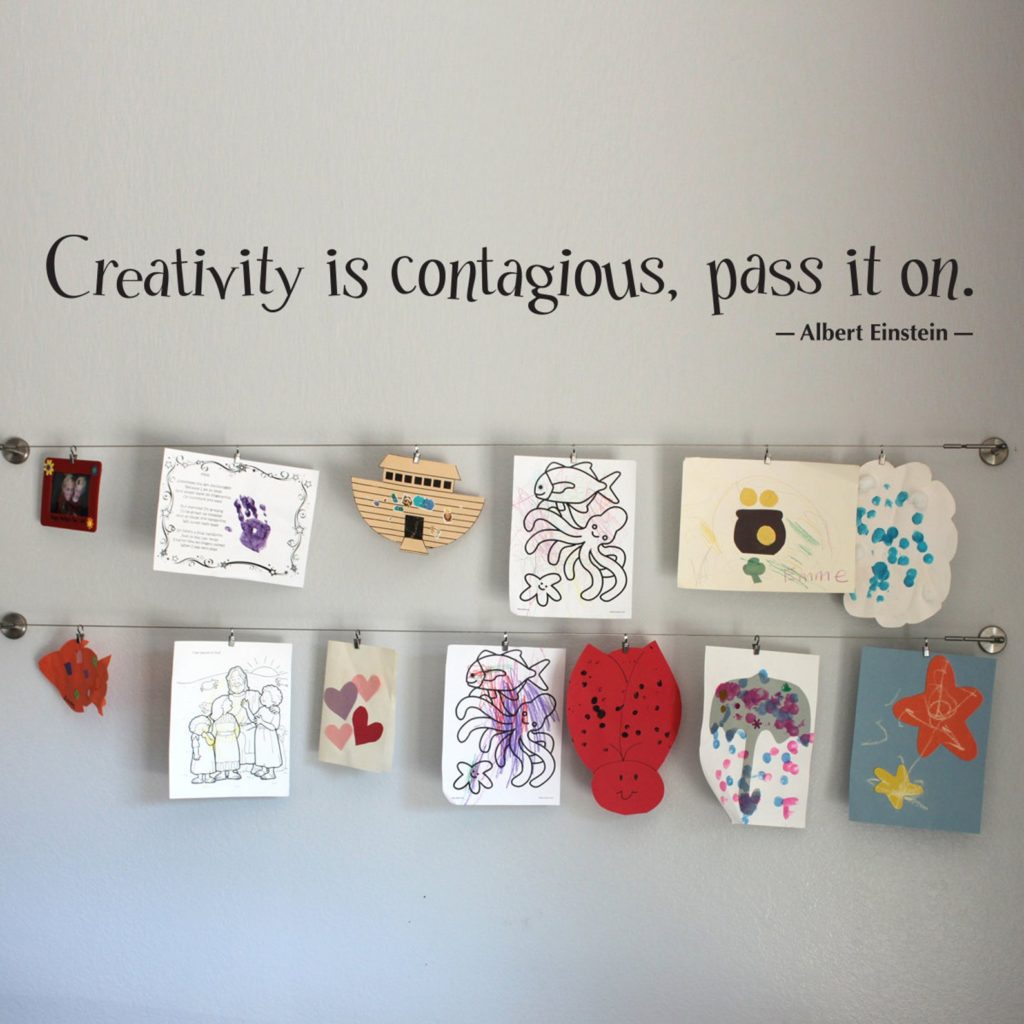
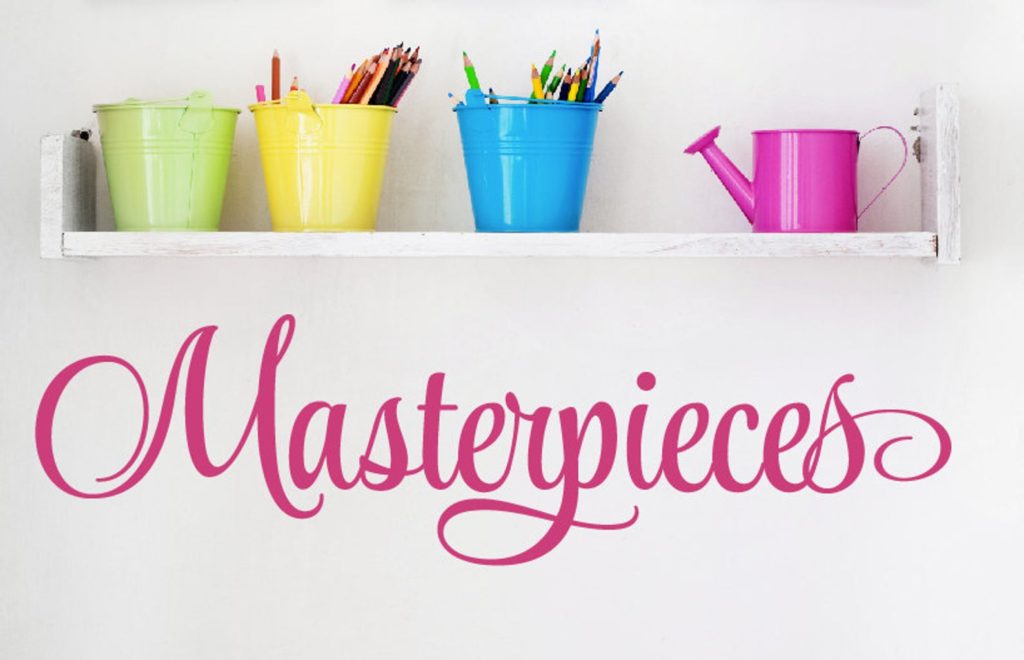
I staple their 8-1/2″ x 11″ artwork onto a piece of colorful construction paper, which is a slightly larger size (usually 9″x12″) and acts as a frame. I then arrange the papers in simple vertical and horizontal lines. SO EASY! The rule is that it has to be original artwork to be included on the gallery wall. No coloring pages allowed. It takes almost no effort for me to staple the papers together and use picture putty to adhere it to the wall. Our stairwell is colorful, and the consistency of using construction paper to frame each paper makes it visually pleasing. I bought this “Masterpieces” wall decal off of Etsy (so cute) to headline the display.
Fun Wall Decal Ideas from Etsy
INCORPORATE INTO DECOR
In addition to the casual gallery wall, I frame some of my favorites and display them in my living area. I have a self-portrait alongside a picture block that my second-grader did one year, and an adorable watercolor of a mama and her baby chick that I received for Mother’s Day from my kindergartener. When I changed some accent colors in my living room, I asked each girl to draw me a picture of anything she wanted using several specific colors. The resulting pictures perfectly complement my décor in a trio of frames on the living room wall.
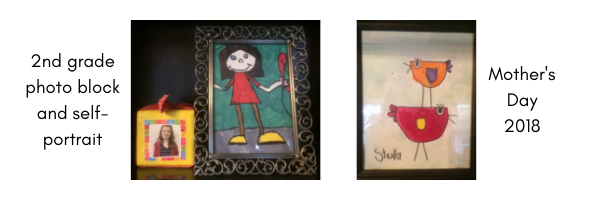
PHOTO BOOKS
Another fun option that allows you to “keep” a large number of their creations is take pictures of them and create a bound book. There are many companies you can use for this.
Shutterfly has all kinds of options for preserving your child’s art, ranging from canvas, notebooks, puzzles, and even custom plates. Artkive and Plum Print allow you to send all your kid’s artwork to them; they photograph it for you and turn it into a keepsake book. It’s a little pricey, but they do ALL the work – yippee! If you want cheap and still pretty easy – it’s Costco Photo Center for the win! They offer a few photo book options and you can’t beat the price.
Fun Display Ideas for Kids’ Artwork


Keep the future in mind
Your methods for handling school papers and artwork and your decisions about what to keep will evolve as your kids grow. When they are preschoolers, every attempt is adorable and precious. You may wish to keep a whole lot of the pictures, pipe cleaner creations, and bead necklaces for now. If you have space, and the amount of “stuff” you keep isn’t negatively affecting your attitude and overall mental well-being, that’s ok. But there will probably come a time when you can’t remember which child drew the picture, or what it’s supposed to be. It no longer holds any meaning for you (or your child). Take small steps now to organize your kids’ artwork and papers. Those small steps will prevent you from being buried by paper clutter in the future. If you let it pile up, it will feel overwhelming to dig through the clutter five years from now.
Start by keeping everything together
If you have a hard time letting go of your kid’s stuff, at the very least, designate a holding place. Get a box or bin and put everything that you want to keep in that box as it comes in. Then, in December, before they go back after Christmas break, go through the box. You may find that your daughter has brought home seven flower pictures. Pick your favorite one and toss the rest. Do the same at the end of the school year, with even more diligence. Make sure at the end of the year that you have a permanent place to keep what is left. It either needs to be displayed or stored, but it can’t stay in the box. Start each new year with an empty box and be diligent about going through it AT LEAST twice a year.
Strike a balance
There is a balance between tossing things willy-nilly without regard to your child’s feelings, and holding on to every scrap of paper because your precious baby made it. Like most things in life, your sentimentality lies somewhere on a continuum. Where you are right now will be different a few years from now.
As you evaluate the influx of papers that pour into your house throughout the next school year, keep your future self in mind. For sure, keep the things that make you smile at a fond memory. But try to visualize how important that paper will be to you in a year, or in five years.
Visualize enjoying the memories
Here’s a visualization exercise for you. Think about how you FEEL looking at your kids’ papers and artwork crammed onto shelves, under beds, or piled on the kitchen counter or unused dining table. Do you ever sit down and look at them? Does it trigger fun memories when you find a stack of papers your child has left on the floor? Or are you so frustrated with the clutter and mess that you start throwing away everything in sight?
Having less of their creations, but having them stored and displayed in a way that you and your kids can see and easily access provides so much more enjoyment. They can pull out their binders or art portfolios and reminisce about the first grade teacher they loved. Or the silly story they wrote about their weirdest dream. It is fun to look back and laugh and remember together. But that can only happen if you are diligent in curating only the most meaningful and memorable pieces. Otherwise it’s all just the equivalent of white noise.
How to start if you’re buried in piles of paper
- Set aside one hour per week to work on organizing your kids’ artwork and school papers. Put it on the calendar. A lot of this can be done while you binge on Netflix anyway. During your one hour per week you will work through the following steps.
- Get a box, bin, tote, or basket bigger than 9″x12″.
- Gather every piece of kids artwork or school paperwork or random paper memorabilia that you find in your home. Put it in your box.
- Get 3 boxes, bins, totes, or even paper bags.
- Start sorting. Organize papers into three piles. Throw away/recycle, store, and display.
- Just keep working at it one hour per week. It might take a while, but think how great it will feel to have this huge project DONE!
- Now that you have sorted through everything, you should have a pile that you really want to keep. Next you need to decide on your storage plan and display plan.
- You’re almost there…now take your one hour per week and implement your storage and display plan. Make your binders or frame some favorites.
One Hour Per Week
You can accomplish a whole lot in one hour per week. You’re probably spending one hour per week on Facebook or Netflix anyway right? Spend a little time on a project that will positively impact your life in a big way. The time is going to be spent one way or another.
So…get ready. September is just around the corner. Make a plan now to sort, store, and show your kids’ schoolwork. By teaching your kids how to organize their artwork and papers, they develop an awareness around which items are important to them. They might complain a little about throwing away some of the work they’ve done. But it will be worth it when they can see and enjoy the special pieces they keep.